


Navigation
In recent years, security cameras with cellular connectivity have become increasingly popular. These cameras can transmit footage directly to the cloud or your mobile device without the need for wired internet. To enable cellular connectivity, most wireless security cameras require a SIM card. Here is a guide on how to buy a SIM card for a security camera in the US in 2023.
Choose Your Carrier
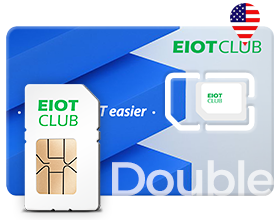
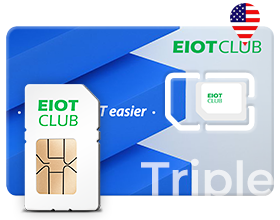
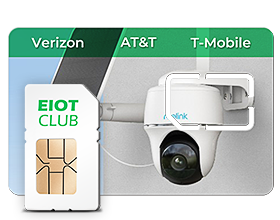
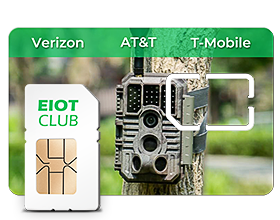
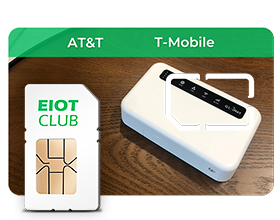
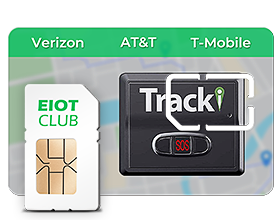
The first step is choosing which cellular carrier you want to use. The main options are AT&T, T-Mobile, Verizon, and UScellular. Research the coverage and data plans offered by each carrier in your area. Ensure the carrier has strong 4G LTE coverage wherever you install the security camera. You'll need a data plan that provides enough data bandwidth to support streaming high-quality video from the camera. Unlimited data plans are recommended. The SIM card from Eiotclub is a great option.
AT&T and Verizon tend to have the best nationwide coverage. T-Mobile and UScellular may offer better value plans. You can buy SIM cards directly from any of these major carriers. Third-party resellers like Twigby and Ting also offer SIM cards on these networks.
Pick the Right SIM Card Size
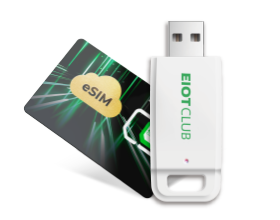
Once you choose your carrier, you need to get a SIM card that is compatible with your security camera. There are three sizes of SIM cards - standard, micro, and nano. Most modern security cameras take nano SIM cards, which are the smallest. Standard SIM cards are the largest in size. Make sure to check your camera specs to see which SIM card size you need. The carrier should offer all three sizes.
Nano SIM cards are small and easy to insert into a tiny slot on the camera. Avoid cutting a larger SIM card down to the nano size if possible. Cutting SIM cards can sometimes cause issues. Purchase the nano SIM if that's the size your camera requires.
Activate Your SIM Card
Once you receive the SIM card, you'll need to activate it on your carrier's network. Follow the instructions provided with the SIM card to activate it. This usually involves calling the carrier or registering online.
You'll need to provide the SIM card number and your account information. Some carriers require you to already have an account before activating a new SIM. If you don't have an account with that carrier yet, you may need to open one first.
You can add your new SIM card to an existing account when activating. Some carriers charge a small fee ($10 or less) to activate a new SIM card. The activation process also involves selecting a data plan compatible with your security camera's bandwidth needs.
Insert and Connect the SIM Card
After activation, just insert the nano SIM into the slot on your security camera. Make sure it clicks securely into place. Most wireless security cameras have the SIM slot inside the camera housing, so you'll need to open it up to access the slot.
With the activated SIM inserted, power on the security camera and connect it to the carrier's wireless network using the camera's setup software. The camera may automatically connect to the cellular network. If not, you can manually select the carrier by name from the camera's network settings.
Once connected over cellular, you can configure the rest of the camera's settings. This includes connecting it to your WiFi network, setting up motion alerts, and creating user accounts. The SIM card enables the camera to transmit footage to the cloud and your mobile device anywhere cellular service is available.
Maintaining service and adding data to your SIM card as needed ensures seamless video streaming from your wireless security camera. Following this process makes it easy to get your security camera online via cellular connectivity.